Snake plants (Sansevieria), also known as mother-in-law’s tongue, are some of the most popular indoor houseplants.
Their sleek, sword-like leaves and hardy nature make them a favorite for beginners and experienced gardeners alike.
However, like all plants, snake plants eventually outgrow their pots, necessitating a repotting process to keep them healthy and thriving.
In this comprehensive guide, we’ll delve into the details of how to repot a snake plant properly and explore everything you need to know about this process.

Table of Contents
Understanding the Snake Plant
Brief Overview of Snake Plants
Snake plants, belonging to the genus Sansevieria, are native to West Africa. They are admired for their architectural beauty and adaptability.
These plants are especially suited to indoor environments as they can withstand low light, poor humidity, and minimal watering.
Because of their resilience, snake plants are often recommended for people who may not have a green thumb but still wish to keep houseplants.
Benefits of Owning a Snake Plant
Beyond their aesthetic appeal, snake plants come with numerous benefits, including:
- Air purification: Snake plants are known to filter toxins from the air, including formaldehyde, xylene, and toluene, thus improving indoor air quality.
- Low maintenance: They require minimal care, making them ideal for busy individuals or those new to plant care.
- Improving mental health: Studies suggest that indoor plants, including snake plants, can reduce stress, increase focus, and boost overall well-being.
Common Varieties of Snake Plants
There are several varieties of snake plants to consider, including:
- Sansevieria trifasciata: The most common variety, characterized by its long, vertical green leaves with light green bands.
- Sansevieria cylindrica: This variety has round, tubular leaves that grow outward rather than upward.
- Sansevieria laurentii: This is a variegated form with striking yellow borders along its leaves.
Why Repotting a Snake Plant Is Important
When to Repot a Snake Plant
Snake plants are slow growers, so they don’t need to be repotted frequently. Typically, repotting every 2-3 years is sufficient, though younger plants might require annual repotting to accommodate growth.
However, the plant’s growth rate can accelerate in optimal conditions, potentially necessitating more frequent repotting.
Signs Your Snake Plant Needs Repotting
It’s important to recognize the signs that your snake plant has outgrown its current pot. Some key indicators include:
- Roots growing out of the drainage holes: If you notice the roots peeking out from the bottom of the pot, this means the plant has outgrown its container and needs more space.
- Overcrowded root ball: When you remove the plant from its pot, if you find that the roots have formed a dense, tangled mass, it’s time to repot.
- Top-heavy plant: If the plant starts to tip over easily, the pot might be too small to support its size, and repotting is necessary.
- Poor water absorption: When water pools on top of the soil for a long time, or the soil takes an unusually long time to dry, it may be a sign that the roots have overcrowded the pot and are affecting the plant’s ability to take in moisture properly.
Preparations for Repotting
Before repotting a snake plant, it’s essential to make the necessary preparations to ensure a smooth process.
Choosing the Right Pot
Selecting the right pot is crucial for the plant’s continued growth. Here’s what to consider:
- Size: The new pot should be 1-2 inches larger in diameter than the current pot. Snake plants prefer a snug fit, so avoid using an excessively large pot, as this can lead to overwatering and root rot.
- Material: Terracotta pots are a popular choice because they allow the soil to dry out faster, which is important for snake plants that dislike excessive moisture. Plastic pots, while lighter, retain more moisture, so you’ll need to be mindful of your watering habits.
- Drainage: Always choose a pot with adequate drainage holes. Snake plants are susceptible to root rot, and proper drainage is critical to prevent water from pooling at the bottom of the pot.
Choosing the Right Soil
Snake plants thrive in well-draining soil. The right soil mixture will help prevent root rot and promote healthy growth. Consider the following when selecting the soil:
- Cactus or succulent mix: These are ideal for snake plants as they offer excellent drainage.
- DIY soil mix: You can create your own by combining regular potting soil with coarse sand or perlite (1:1 ratio). This mixture ensures good drainage while retaining enough moisture for the plant.
Tools Needed for Repotting
Having the proper tools on hand will make the repotting process smoother:
- A new pot (with drainage holes)
- Fresh soil (cactus or succulent mix)
- Gardening gloves (optional but recommended)
- A trowel or small spade
- A watering can
- A clean, flat workspace for repotting
Step-by-Step Guide: How to Repot a Snake Plant
Now that you have your tools and materials ready, it’s time to get into the repotting process.
How to Remove the Snake Plant from Its Current Pot
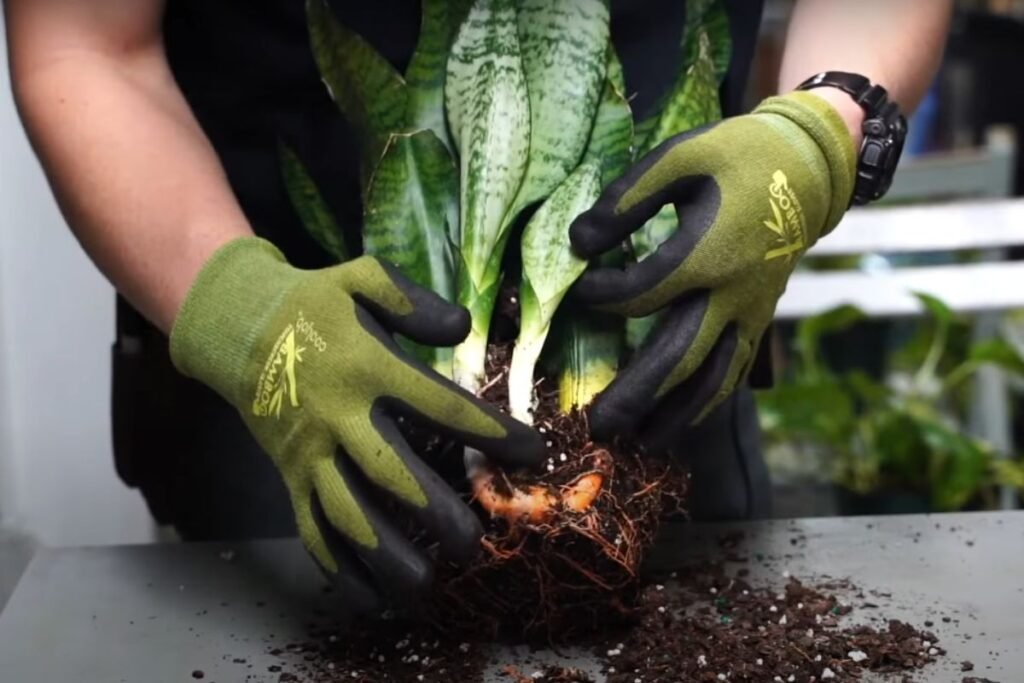
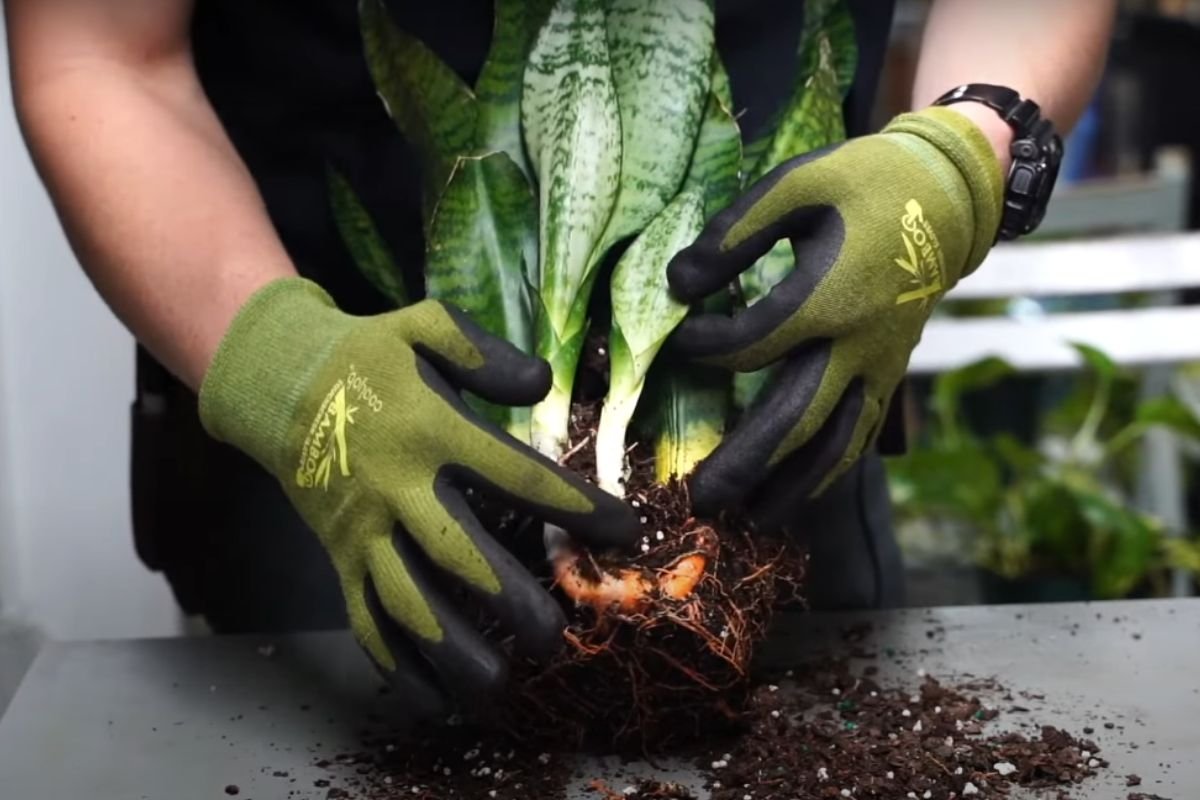
Start by gently removing the plant from its current pot. Here’s how:
- Loosen the soil: If the soil is dry, it might be compacted. Use your hands or a small trowel to gently loosen the soil around the edges of the pot.
- Hold the base: Grasp the base of the plant near the soil line. Be careful not to pull too hard on the leaves, as this can damage the plant.
- Tilt the pot: Gently tip the pot on its side and coax the plant out. If the roots are severely bound, you may need to tap or squeeze the sides of the pot to release the plant.
Inspecting the Roots and Plant Health
Once the snake plant is out of its pot, examine the root system for health issues:
- Healthy roots: Should be firm, white, and slightly fibrous.
- Root rot: If the roots are brown, mushy, or have a foul odor, this indicates root rot. Trim away any affected roots with sterile pruning shears.
- Overgrown roots: If the roots are densely packed, consider untangling them slightly to encourage outward growth in the new pot.
Choosing the Right Pot Size
As mentioned earlier, select a pot that’s 1-2 inches wider in diameter than the current one.
Snake plants like to be slightly root-bound, so avoid an excessively large pot, which can cause water retention and eventual root rot.
Placing the Plant in the New Pot
- Fill the pot: Add a layer of fresh soil mix at the bottom of the new pot. The amount should allow the base of the snake plant to sit about 1 inch below the rim of the pot.
- Position the plant: Place the snake plant in the center of the pot. Ensure that the plant is upright and stable.
- Add more soil: Gently fill in the sides with the rest of the soil mixture, lightly pressing it down to eliminate air pockets. Avoid packing the soil too tightly, as this can affect drainage.
Watering and Aftercare
After repotting, give the snake plant a thorough watering to help settle the soil:
- First watering: Water the plant until water starts to drain from the bottom. However, don’t overdo it—snake plants prefer to dry out between waterings.
- Post-repotting care: Place the repotted plant in an area with bright, indirect light. Avoid direct sunlight for the first few days as the plant adjusts to its new environment.
- Regular watering: Continue watering only when the top 1-2 inches of soil are dry. During the winter months, you can reduce watering even further since the plant will be in a state of dormancy.
Common Issues After Repotting and How to Address Them
Even after successful repotting, certain issues can arise. Here are some common problems and their solutions:
Root Rot and How to Prevent It
Root rot is one of the most common issues snake plants face, especially after repotting. To prevent it:
- Use well-draining soil: Ensure you’ve used a cactus or succulent mix to promote good drainage.
- Avoid overwatering: Water sparingly and allow the soil to dry between waterings.
- Check for drainage: Make sure the new pot has adequate drainage holes to prevent water from accumulating.
Stunted Growth and Overcrowded Roots
If the snake plant seems to be growing slowly even after repotting, it could be a sign of overcrowded roots. If this happens:
- Check root health: You may need to inspect the roots again to ensure they aren’t still overcrowded or tangled.
- Pot division: If the plant continues to outgrow its pot quickly, consider dividing it into smaller sections and planting them in separate pots.
Adapting to New Soil and Pot Environment
After repotting, it’s normal for the snake plant to take some time to adjust to its new pot and soil. During this adjustment period:
- Monitor light conditions: Ensure the plant is receiving the appropriate amount of light. Snake plants thrive in bright, indirect light but can also tolerate low-light conditions.
- Patience is key: It may take several weeks for the plant to show new growth after repotting, so don’t be alarmed if you don’t see immediate changes.
FAQs About Repotting Snake Plants
1. How often should I repot my snake plant?
Generally, snake plants should be repotted every 2-3 years. However, younger plants may need more frequent repotting to accommodate growth.
2. Can I repot my snake plant in winter?
It’s best to repot snake plants during the spring or summer, as this is their active growing period. Repotting in winter is not recommended unless absolutely necessary.
3. What should I do if my snake plant’s roots are severely bound?
If the roots are severely bound, consider trimming them back or dividing the plant into smaller sections before repotting.
4. How deep should I plant my snake plant in the new pot?
The base of the plant should sit about 1 inch below the rim of the pot.
5. Can I propagate snake plants while repotting?
Yes! Snake plants can be easily propagated by division. When repotting, you can separate sections of the plant with their own roots and plant them in new pots.
Final Thoughts
Repotting a snake plant is a simple yet vital part of ensuring the continued health and growth of this hardy houseplant.
By following the step-by-step guide outlined above, you’ll be able to repot your snake plant with confidence.
Remember to select the right pot and soil, monitor your watering habits, and give your plant time to adjust after repotting.
With proper care, your snake plant will thrive in its new home, offering years of beauty and air-purifying benefits.
Happy planting!
My name is Shahriar Robin, and my journey with plants began in childhood, igniting a lifelong passion that blossomed alongside my career as a nutritionist and sports trainer. Through SnakePlant.org, I channel this dedication, merging expertise from nutrition and sports training to nurture a platform sharing all-encompassing knowledge about Snake plants. This website mirrors my commitment to cultivating greenery, offering comprehensive insights on growth, maintenance, and nurturing practices for these captivating plants. My mission is rooted in leveraging diverse expertise to enhance plant care practices, believing profoundly in the therapeutic impact of nature. Join me on SnakePlant.org, where I unite a thriving community of enthusiasts, sharing experiences, insights, and the profound joys of planting.

